I say this pretty often, but I think that SearchLink is one of the most useful tools I’ve ever created. Yes, even more useful than Marked 21. Well, within its very specific scope of utility, anyway. So I thought a post or two on how best to use SearchLink might be in order, starting with the basics.
If you’ve never heard of SearchLink (or maybe heard of but never tried), it’s a tool for people who write in Markdown and use links. Whether you’re blogging, writing podcast show notes, writing web-based documentation… if you add links to your markdown text, SearchLink is for you. Normally, you’d switch to your web browser, search for the link you want, open it, copy the link from the url bar, switch back to your document, type in the Markdown syntax for the link, and paste in the url. SearchLink cuts that down to “select text, hit shortcut.”
Read on to see why you really should give it a shot.
Installing
The first step, of course, is to install SearchLink. Simply download it from the main project page, unzip it, and double-click the .workflow files to install them as “Quick Actions” (nee Services). SearchLink is now available in the menu whenever you select text and right click it.
You’ll almost certainly want to assign a keyboard shortcut to SearchLink and save yourself a bunch of selecting with the mouse, right clicking, and scanning contextual menus for the tool. To add a shortcut, open System Preferences and go to Keyboard->Shortcuts and select Services2 in the left pane. Locate SearchLink (under the Text category) and click on the right side to assign a shortcut. This can be any key combination you like. I use ⌃⇧L (Control-Shift-L), personally.
Aaron Dowd made a great intro video that covers all of the above steps. If you prefer watching to reading, I recommend checking it out.
Super Basic Usage
At its most basic, SearchLink requires nothing but selecting text and typing your shortcut. Doing this runs a general web search for the text and inserts the top result as a Markdown link.
Say you’re writing about an Apple product and you want to link to the product page. Just select the product name and type your shortcut:
Basic Bangs
The next level of power comes from bang searches. Using this basic “naked” syntax, you can precede any text with an exclamation point and a few letters to control how and where the search is run. For example, if you wanted to locate a product on Amazon, you would use !a, e.g.:
To get a list of all available bang searches, just type help and run SearchLink on it…
Basic Markup Usage
As you’ve seen, using SearchLink means completely avoiding opening your browser to search and copy links. The real benefit of SearchLink in my own writing, though, comes from the fact that I can use it to entirely put off linking until a later point. This is done using a syntax very much like Markdown links.
To use this basic markup version, just surround the text to search in square brackets, and then in parenthesis immediately following it, add whatever bang search it should use. Much like the naked version, you can leave the parenthesis empty to do a default web search (Google/DuckDuckGo).
You can add these in as you write, and then link them all at once later, maybe at the end of the paragraph, or perhaps run the whole document through SearchLink at once when you’re finished.
One of the other nice things about using this syntax is that you can augment the search text and control what text will be linked in the end. Anything inside the square brackets will be the final link text, but you can make the search run for additional keywords or an entirely different string.
Any text that comes after a bang specifier will be considered the actual search text. For example, the following search would come up with a link to BrettTerpstra.com, with the linked text “this blog”:
Check out [this blog](!g Brett Terpstra)
You can also append text for just the search. Say you wanted to link the app Curio, but the default searches were giving you more generic results. If you knew the app was created by Zengobi, you could use a syntax like this to add “Zengobi” to the search without including it in the link text:
[Curio](!s +zengobi)
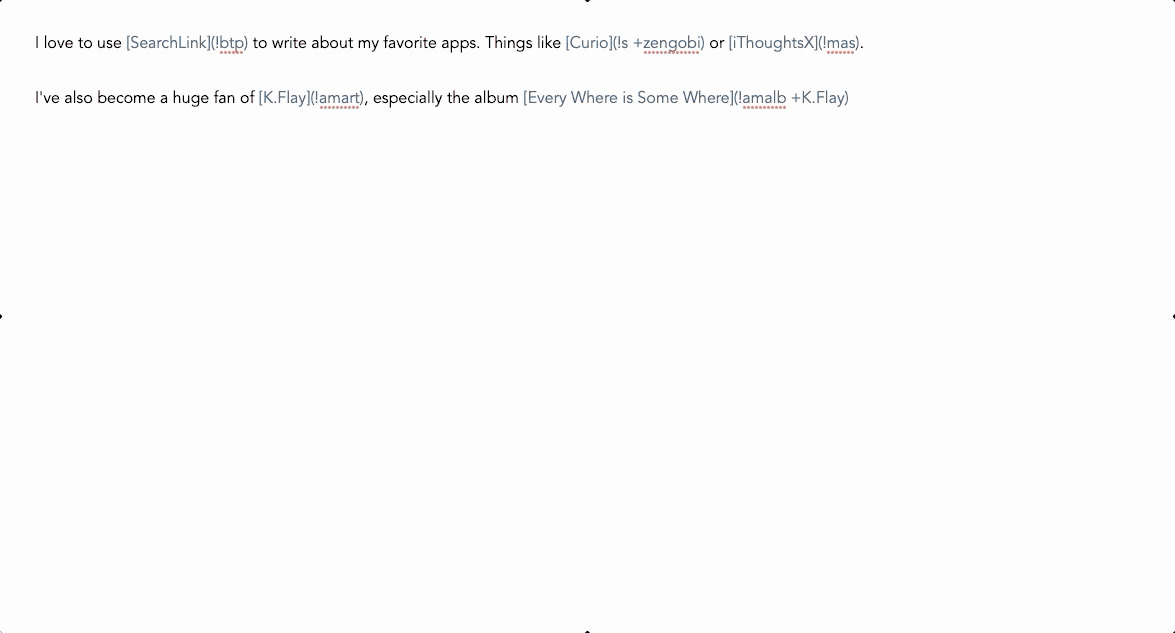
Here’s what it looks like when you just leave the SearchLink syntax in your writing and run it all at once later.
For reference, here’s the report that the above search included in HTML comments after the text (this is optional, but helps with quality control):
(0:14:59): [SearchLink](!btp) => http://brettterpstra.com/projects/searchlink/
(0:119:39): [Curio](!s +zengobi) => https://www.zengobi.com/curio/
(0:162:103): [iThoughtsX](!mas) => https://apps.apple.com/us/app/ithoughtsx-mindmap/id720669838?mt=12&uo=4&at=10l4tL&ct=blog
(2:31:93): [K.Flay](!amart) => https://music.apple.com/us/artist/k-flay/297760267?uo=4&app=music&at=10l4tL&ct=blog
(2:147:131): [Every Where is Some Where](!amalb +K.Flay) => https://music.apple.com/us/album/every-where-is-some-where/1440889729?uo=4&app=music&at=10l4tL&ct=blog
The markers in parentheses can be used by the Jump to Error service to quickly jump to where a missed or incorrect link occurred.
In fact, I just used SearchLink to create that link to Marked 2 with 3 keystrokes. ↩
Yep, in some areas of Catalina, Services are now referred to as “Quick Actions,” while in other areas they’re still “Services.” Because when you decide to change the name of a feature, consistent implementation is key? ↩